I'm gearing up for my second live show of the year, and I'm super pumped to get my Classics and Trads back out in the show ring (in addition to my minis, many of which already had their day in the sun earlier this month)! So, I figured why not walk y'all through just how I prep, since I've gotten some questions about it.
I'll break it down into three special steps, to quote famed hobbyist Special Agent Oso (c'mon, low hanging fruit; there are, indeed, three steps I follow):
1. Classes, classes, classes
2. Sit and stare -- yes, actually
3. Final preparations
And I've taken the liberty to have a little fun with this and scatter Michael Scott memes I made for this post throughout.
Quick tangent: isn't it weird how much we (myself included) love model horse showing? Let's face it; it takes a certain kind of crazy to show model horses.
 |
The one exception to the Michael Scott rule.
Imgflip
|
But aren't all the best people (at least a little) crazy? Still, never mind the weird nature of spending hours prepping and carefully packing tiny horses, traveling hours away - potentially staying overnight - to then frantically place them on tables next to other similar models shown by dozens of other people who did the same song and dance as you, frantically again repack models hopefully just as carefully as you packed them in the first place, and then
put them all back (honestly, the only part I genuinely dislike)
. eagerly await the opportunity to do it all over again.
Now, let's break it all down.
Step 1: Classes, classes, classes
First, save the classlist in a spreadsheet.
I like to keep it all on one sheet so, when I print it out, I can see classes running concurrently/have everything in one place
 |
| The prep spreadsheet I'm using for this show, in action |
This spreadsheet format is flexible, but I just like to make sure it has same basic information:
• Class
• If it's packed (bonus if for where and a column to check off it's been repacked)
• Breed (you could also do if it has documentation)
• Model name
 |
| My Sea to Bay '24 prep spreadsheet |
I've gotten by with planning with only the model name under each class, but it's so much easier on the show day if you have everything visibly organized in one place for quick reference.
Second, sit and stare. No, really.
Plop on down in front of your collection and peruse your options.
 |
| (Most of) my minis for SJC '24 |
I'll break down how I chose my model (yes, singular) for the Appaloosa class. Let's look at all the models with appy coloring first and go from there.
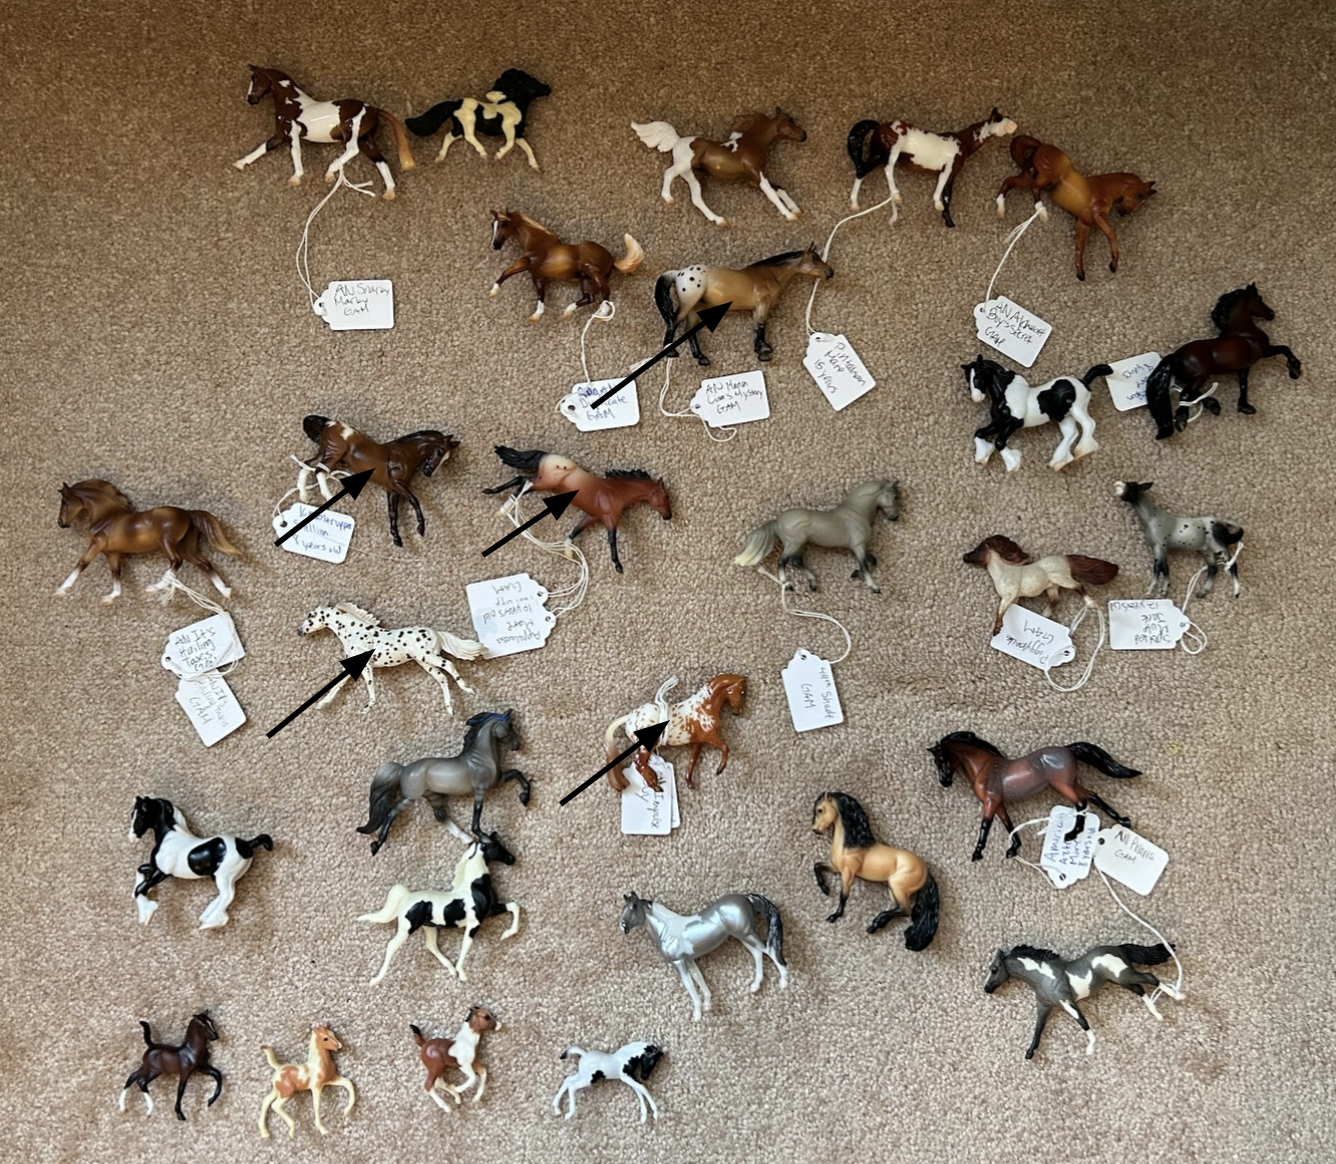 |
| All the Appies here. |
So, right off the bat, we can rule out the cantering WB and Valegro molds because they're much better suited for sportier, non-stock-type breeds. This leaves us here:
So, one thing I keep in mind is anticipated class size, especially with classes for more real-world popular breeds (like QH or TB). It's more likely that they'll place in smaller classes, so I try to optimize my entries accordingly. Anyway, in cases like these of big classes, I work on ruling
out. The Nez Perce is a pretty viable, similar option for Appaloosas broadly, especially given their heavy Appaloosa influence. So, I made both of these Nez Perce.
 |
Don't be afraid to deviate from the breed norm of a certain model if you think it might work!
(Memedrop)
|
But why the Thoroughbred mold as a stock horse? For one, Breyer has put some stock models on the mold - like Hidalgo. It's also a Stablemate, and so it's inherently less detailed, so its features don't box models into certain breeds or out of others as much. I've also had success with this mold as stock breeds and seen others with similar success, so I feel pretty okay about it. The top Appaloosa might even work better for this class, but honestly I'm going for potential creativity points here (not something I think judges look at, but if big classes are basically shots in the dark anyway? LOL I'm not really putting that much weight into this class, like I explained above).
And on the day of the show, I might move that top Appaloosa into the Appy class if it's not that big. Bottom line, though: determine your breed ahead of time. It just saves you so much headache and makes things easier day-of. More on planning soon.
Now, by no means do you have to maximize every class. In fact, I recommend you
not try to show as many models as possible. Unless you're in the market for an ulcer. At least for me, there's no way I'd make every class if I had models in each of them (learned this the hard way... many times).
 |
Currently striving to not be like Michael Scott.
Imgflip |
Step 2: Packing
For the sake of not making this excessively longer than it already is (whoops haha), I'll just walk through my minis.
First, padding.
 |
| I tend to put a blanket or towel on the bottom of bins |
It just gives me more peace of mind, and you can always use it to wrap models if you're packing up at the show in a hurry.
Second, order is important.
You're going to want to pack in reverse order of the classlist. So, go from the bottom, pack those models first. This ensures you have the first models to be shown at the top of your bin -- just in case you don't have enough time to fully unpack before things kick off.
 |
| Packing, ft. my classlist annotations |
Now, I experimented with different packing techniques because I don't have many pony pouches (working on that one!), so I used them sparingly.
 |
| I was able to pack quite a few minis on a larger piece of felt I got from Michael's ages ago |
For one, I found felt to be more slippery than I'd hoped for (and pretty much no padding), so I wouldn't really recommend it for more than one model at a time. Might even work better with a rubber band wrapped around it.
 |
You see my point on the slippery part. I ended up putting the whole thing in a plastic bag.
|
I will say, though, it's a nice way to get more use out of the felt I already use to lay beneath my tippy models. Still, it's probably not a packing method I'd start defaulting to in the future.
I did something similar with fleece from JoAnn's (polar fleece, I believe). There's no scientific measurement to how I chose the size of the felt, and I used some random craft scissors to cut.
 |
| Nothing special, just measure with the heart. |
So, here's the final product of my minis packing:
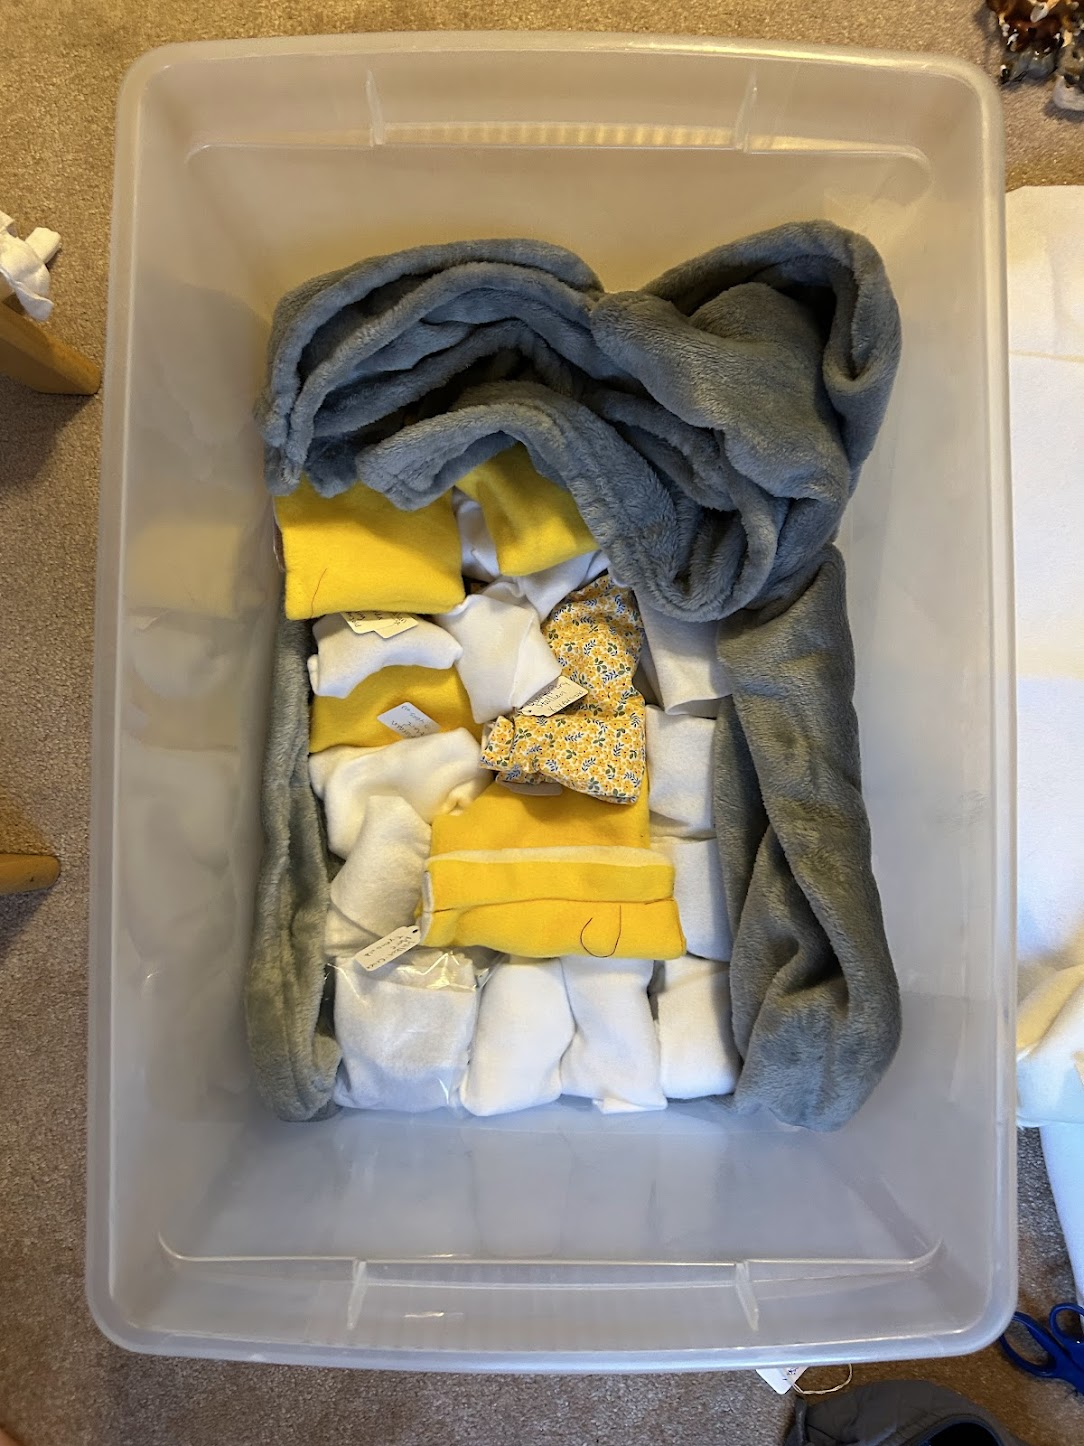 |
| In the rest of the space, I put some Traditionals/Classics |
Step 3: Final preparations
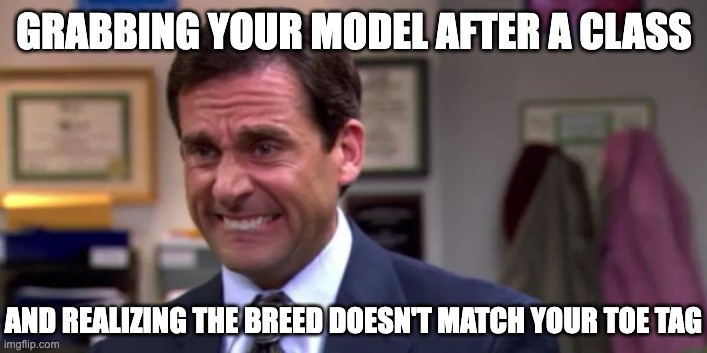
Don't forget to dot your i's and cross your t's!
Yep. I did that
last show. Don't be like me; go through your documentation if you're using it and
make sure all your sheets match your toe tags. Once I'm done, I print out the documentation, cut it out, and place it at the top of a bin. To make things even easier on show day, I'll lightly write in pencil the name of the model on their breed card so I can match it up quickly.
I hope this helps make your show day smoother and less stressful, and may you make all your classes!
What about you? Do you show? How do you prep?


No comments:
Post a Comment